It’s nice to have a to-do list with a big feature set, but it’s even better when that to-do list is fully extensible through APIs. ✅ Todoist offers this through its APIs, consisting of both REST APIs and a powerful Sync API. This means that users are not limited by the functionality offered by the product out of the box. The sky is the limit. On top of that, it’s a great back-end hobby project.
A feature that Todoist doesn’t offer out of the box is follow-up tasks. Once one task is completed, you want to create another one that becomes actionable.
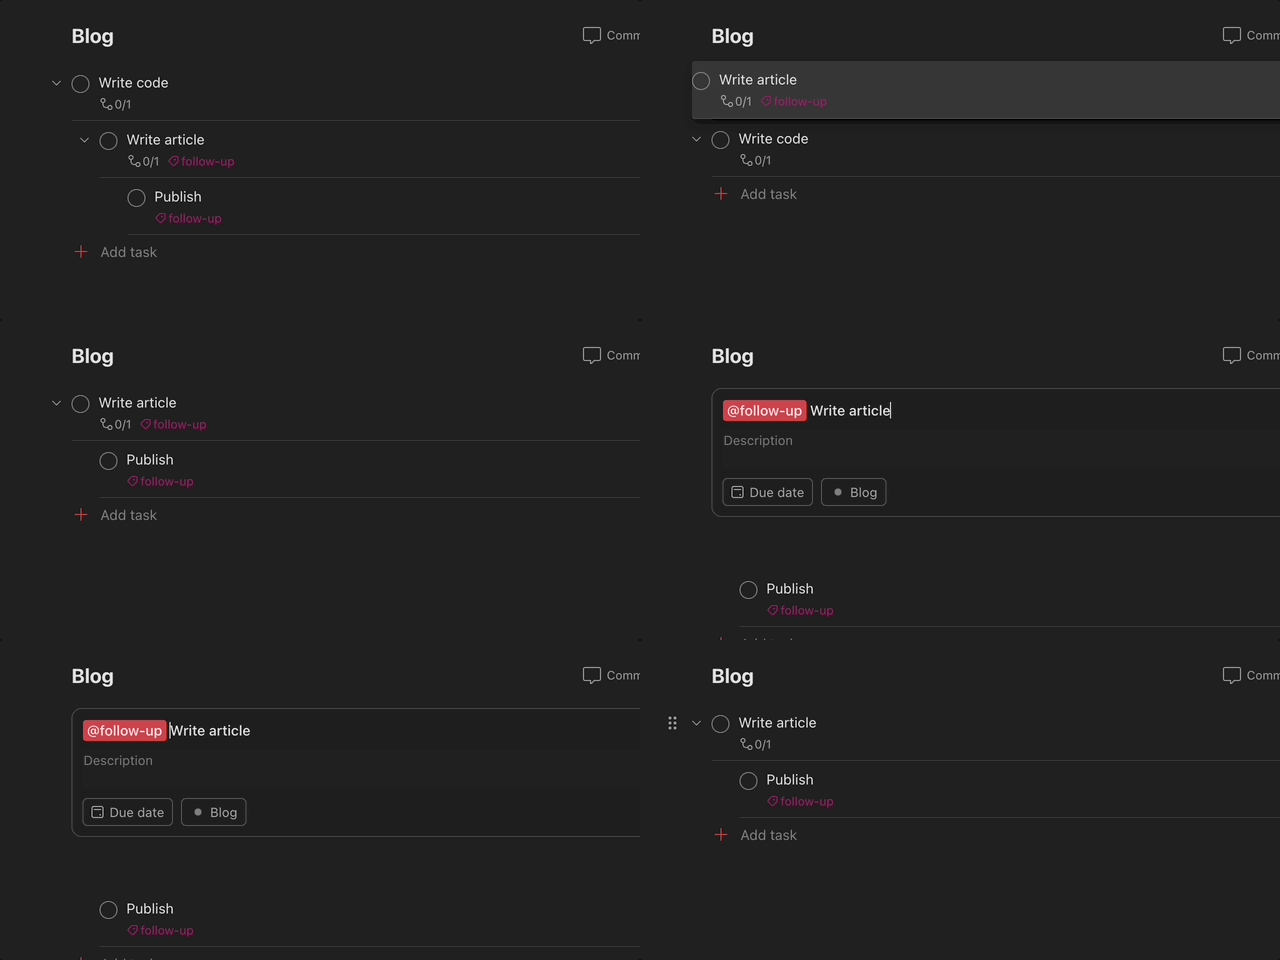
The way I have handled this up until now is like this:

I added the label follow-up and put the task as a child task of the main task. Before marking the main task as completed, I first move the follow-up tasks out of the main task, remove the label and finally complete the parent task. This is very inefficient of course.
The goal of this small hobby project is to automate this process.
Problem breakdown
It always helps to break up a problem into subproblems that are more easily digestible. This section will consist of 3 questions, each representing a subproblem that can be tackled separately.
How to know which tasks have been completed?
The expensive and inefficient method is to continually get all tasks and check which have been completed in the meantime. Luckily there’s a much better solution to this problem, which is webhooks. The Todoist Webhook API exposes a long list of events through its webhooks, among which item:completed.
Knowing which tasks have been completed, they still need to be processed, which leads us to the next question.
How to process the completed tasks?
This can be done in any language you prefer, but I decided to go for Kotlin and Spring Boot. Spring Boot is a popular framework for building Java-based applications and is well-suited for creating hobby projects because it makes it easy to get a new project up and running quickly. It includes several features and tools that can help you develop your project quickly and efficiently, without the need to spend a lot of time on configuration.
The two still need to be connected, leading to the final question:
How can Todoist reach my service?
You could go with an entire cloud deployment of your service, but that would be very much overkill. There are many ways of solving this, but a very nifty tool for hobby projects is 🔀 ngrok.
Starting a server is as simple as running
ngrok http <port-number>Summary
The problem has been reduced to 3 subproblems with their respective solution:
- Webhooks are used to know which tasks have been completed
- A Kotlin Service using Spring Boot is used to implement the business logic
- Ngrok is used to expose the service that is running locally
Configuring Todoist
First, you need to create an app on Todoist. This allows you to make calls to the API. This can be done via the Todoist App Console:
- Click ‘Create a new app’
- Provide your app details
- Click ‘Create test token’
- Paste the ngrok URL with the path that will be exposed in ‘Webhook callback URL’ (e.g. https://b93b-2-108-159-105.eu.ngrok.io/webhookEvent)
- Enable
item:completedin the Watched Events section - Activate the webhook
To verify that this works:
- In your browser navigate to http://localhost:4040
- In Todoist complete an item
- Verify that the event showed up in the ngrok inspector
Encoding the business logic in code
Now that the events can successfully reach our local instance, we can start working on the business logic. The process is relatively simple:
- Verify that the received event has the ‘follow-up’-label
- Get the task details through the Sync API, because we need to know the parent of the parent task
- Change the parent of the task
- When the parent does not have a parent task, you explicitly have to set the section or project. It is not possible to set the parent_id to
null.
- When the parent does not have a parent task, you explicitly have to set the section or project. It is not possible to set the parent_id to
- Remove the ‘follow-up’-label from the task
- Uncomplete the task
The final 3 steps can be combined in a single API call that consists of 3 different commands that must be executed, which I think is a very clever system to avoid a high number of API calls.
The full code can be found on GitHub, but here is the majority of the code:
package todoist

import (...)

private val logger = KotlinLogging.logger {}

@SpringBootApplication
class DemoApplication

fun main(args: Array<String>) {
    runApplication<DemoApplication>(*args)
}

@Component
class WebClientProvider {
    @Value("\${todoist.api.key}")
    val apiKey: String? = null

    fun createSyncClient(): WebClient {
        return WebClient.builder()
            .baseUrl("https://api.todoist.com/sync/v9")
            .defaultHeader("Authorization", "Bearer $apiKey")
            .defaultHeader("Content-Type", "application/x-www-form-urlencoded")
            .build()
    }
}

@RestController
class MessageController constructor(private val webClientProvider: WebClientProvider) {
    @PostMapping("/webhookEvent")
    fun webhookEvent(@RequestBody body: TodoistEvent) {
        logger.info { "Received event $body" }

        if (!body.event_data.labels.contains("follow-up")) {
            // Further processing is only required if this is a follow-up task
            return
        }
        if (body.event_data.parent_id == null) {
            // A follow-up task without parent is misconfigured and can be ignored
            return
        }

        // Fetch item to get parent details as well
        val webclient = webClientProvider.createSyncClient()
        val response = webclient
            .post()
            .uri("/items/get")
            .body(BodyInserters.fromValue("item_id=${body.event_data.id}"))
            .retrieve()
            .bodyToMono(GetItemResponse::class.java)
            .block()

        if (response == null) {
            return
        }
        // The logic can only handle a single parent
        if (response.ancestors.size != 1) {
            return
        }

        val commands = ArrayList<Command>()
        // Change parent of item
        val parent = response.ancestors[0]
        val moveArguments = if (parent.parent_id != null) {
            mapOf("id" to response.item.id, "parent_id" to parent.parent_id)
        } else if (response.item.section_id != null) {
            mapOf("id" to response.item.id, "section_id" to response.item.section_id)
        } else { // Project id is never null
            mapOf("id" to response.item.id, "project_id" to response.item.project_id)
        }

        // Move item outside of parent
        commands.add(Command(
            type = "item_move",
            args = moveArguments
        ))

        // Remove 'follow-up' label
        val filteredLabels = response.item.labels.filter { label -> label != "follow-up" }
        commands.add(Command(
            type = "item_update",
            args = mapOf(
                "id" to response.item.id,
                "labels" to filteredLabels
            )
        ))

        // Uncomplete the item
        commands.add(Command(
            type = "item_uncomplete",
            args = mapOf("id" to response.item.id)
        ))

        val objectMapper = ObjectMapper()
        val serializedCommands = "commands=${objectMapper.writeValueAsString(commands)}"

        webclient
            .post()
            .uri("/sync")
            .body(BodyInserters.fromValue(serializedCommands))
            .retrieve()
            .bodyToMono(String::class.java)
            .block()
    }
}
The data classes used in this code are:
package todoist

import java.util.UUID

data class TodoistEvent(val event_data: Item)

data class Item(
    val id: String,
    val parent_id: String?,
    val section_id: String?,
    val project_id: String,
    val labels: List<String>
)

data class GetItemResponse(
    val ancestors: List<Item>,
    val item: Item
)

data class Command(
    val type: String,
    val uuid: String = UUID.randomUUID().toString(),
    val args: Map<String, Any?>
)
The final result
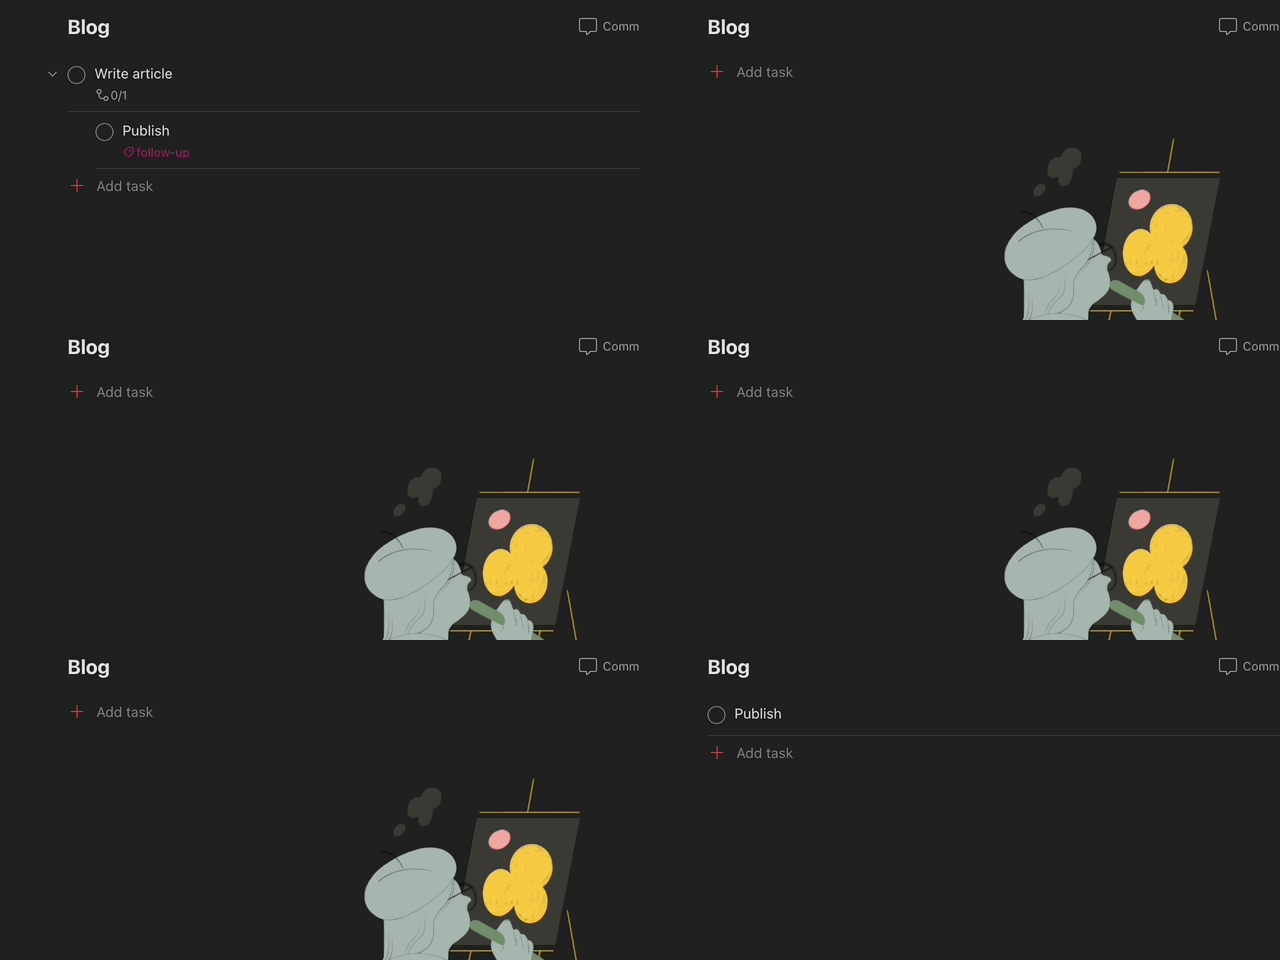
So now, when this code is running locally and the webhook is configured correctly, this is what it
looks like:

Although it takes a couple of seconds, the whole process is automated now!